
monday.com New Features - How to Use the List View Widget
Add a List View Widget
To add a List View Widget, click on the "Add widget" button in the top left-hand corner, select "More widgets", and use the search bar in the Widget Center to find the List View. Click on "Add widget".
Note: This feature is currently in Beta. Stay tuned for gradual release!
Note: The List View Widget currently supports up to 20K items and will soon support up to 100K items. Stay tuned!
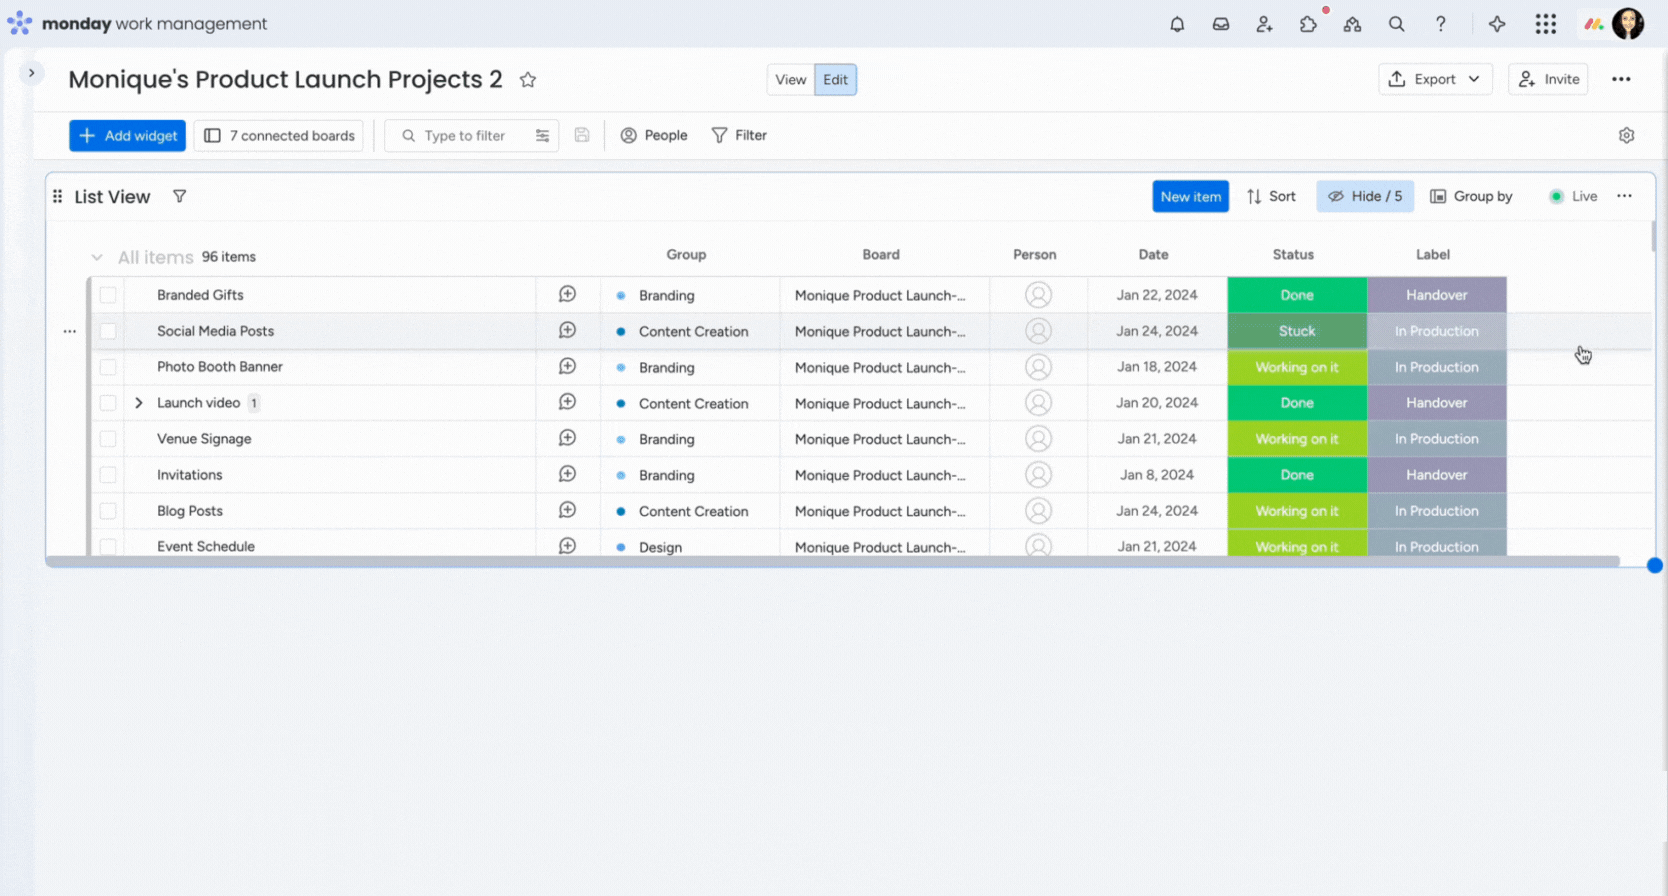
The widget will contain two columns that indicate the board and the group on that board where the item is. The board column is hyperlinked, and clicking on the name of the board will redirect you to that board!
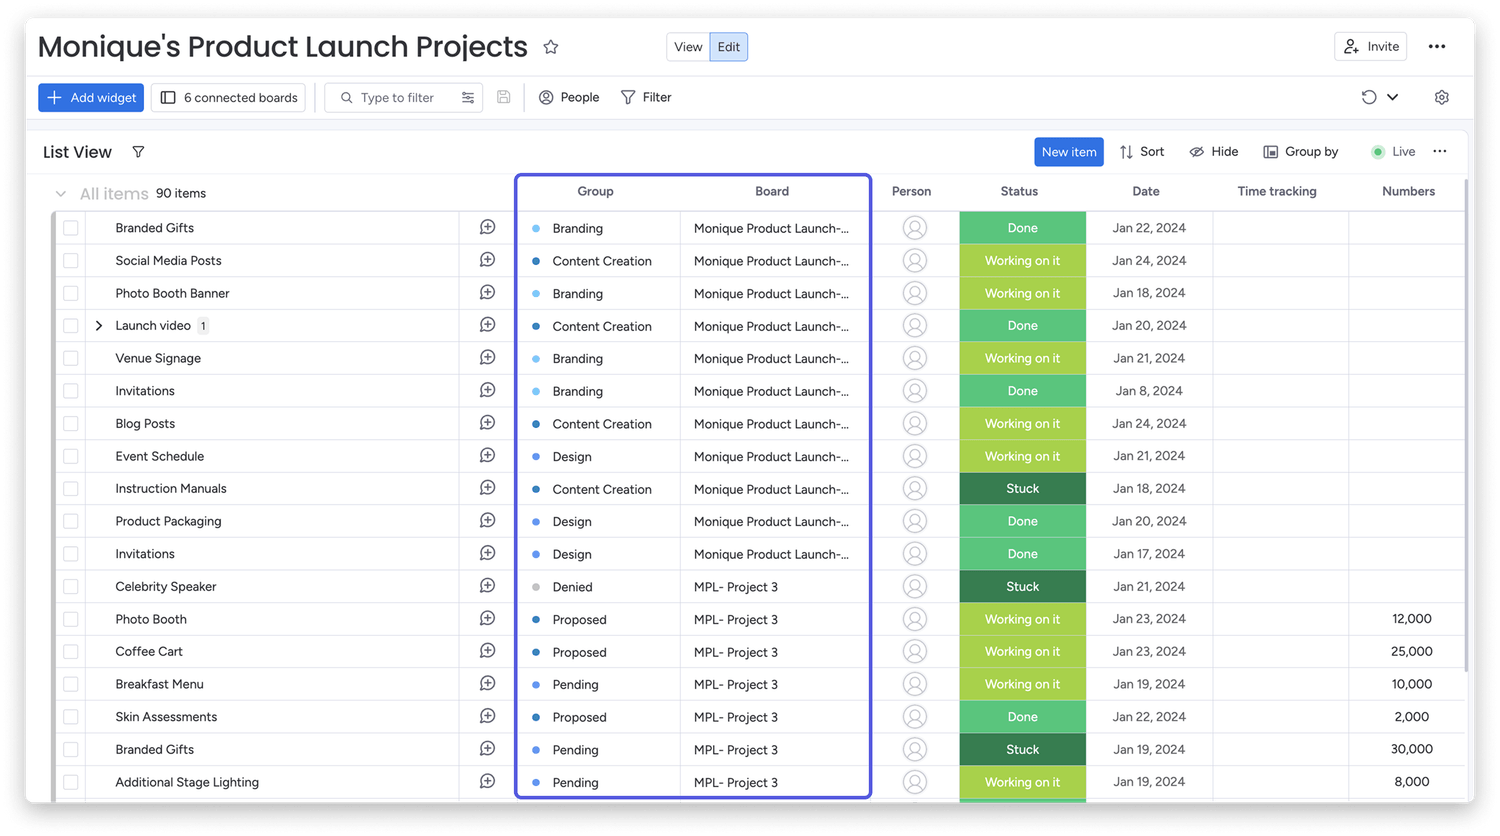
Note: List view permissions come from the permissions on the item's original board. If a user on the dashboard does not have either viewing or editing permissions on the original board, those items will not appear for them on the widget.
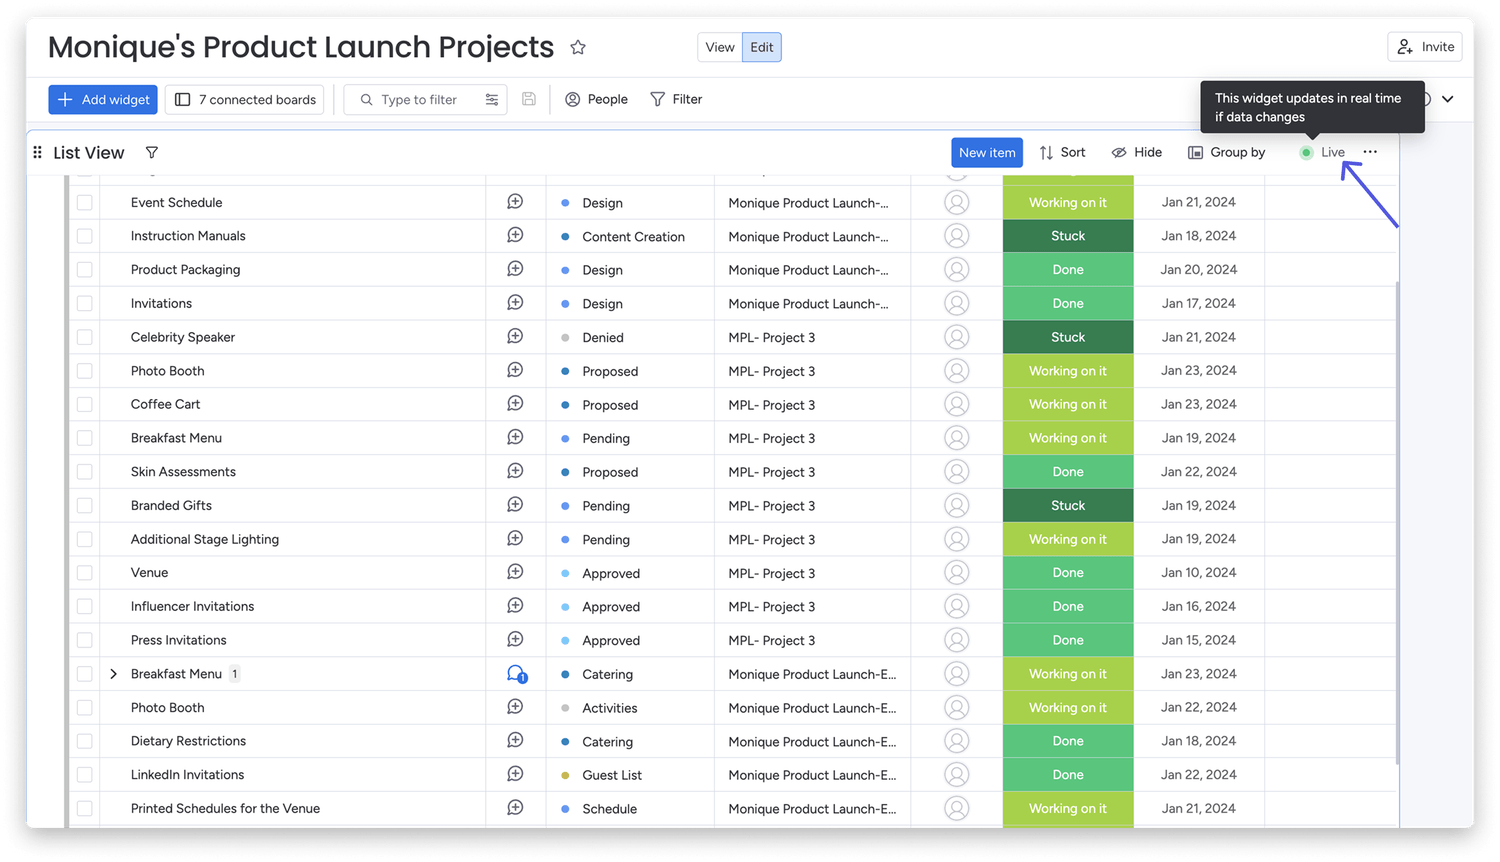
The widget is "Live" and will pull data in real time. This means that any changes made on your various boards will automatically be updated on the widget.
Column matching
The List View Widget pulls all items across your connected boards and displays columns where at least two of the connected boards have that same column. If only one of your connected boards contains a column that the others don't, the column will not appear in the List View Widget.
Note: The number of connected boards is dependent on your plan. Read our article on The Dashboards to understand how many connected boards are available for your plan.
Column matching is done by column name and column type; therefore, to merge similar columns, ensure that these columns share the same name across your boards. To access the column matching settings for the widget, click on the "Cogwheel" icon at the top of your dashboard.

Tip: The numbers that appear next to the column type, i.e.,(6/7), indicate how many of your connected boards contain that specific column type!
From here, you can click on any of the "Customize" buttons next to the column type displayed on your widget and select which column you would like to utilize for that column type on your various connected boards.
Note: For aligning columns across boards, like the Date Column with a specific date format and time, changes must be made on the original board in order to reflect in the List View Widget.
List View Widget settings
The List View Widget settings allow you to determine how your subitems will appear within the widget, which columns are visible and in what order, and which connected boards to pull data from. To access the widget's settings, click on the three dots in the top right-hand corner of the widget and select "Settings" from the dropdown menu.
Subitem settings
Within the "Subitems display mode," you can determine how you would like your subitems to be presented in the List View Widget. These settings include displaying only subitems, subitems alongside items, subitems attached to the parent item, and hiding all subitems.
Column visibility and order
Under "Select columns visibility and order," you can drag and drop columns in the list to reorder the way in which they appear in the widget. This allows you to determine which columns to view in the order that makes the most sense for your data. By using the checkbox next to the column name, you can decide which columns to include in the widget.
Item layout
If you have a Text Column, you can choose to "Wrap text" and determine the cell height to ensure full visibility. In settings, go to the "Item layout" tab, check the boxes for Text Columns to wrap, and choose the height.
Boards settings
You may have connected boards on your dashboard that you need to use for other widgets on the dashboard, but you'd prefer not to see items from those boards in the Item List View. The "Boards" option in settings enables you to determine which of the connected boards should be included in the widget's data by selecting or deselecting boards.
Tip: You may have connected boards that do not meet the requirement of two boards with matching columns. In this instance, your items will still appear within the List View, with no column data. To remove these items from the widget, simply deselect the board from within the settings.
Organize your List View Widget
There are various ways to sort and group your List View Widget so that it displays your data clearly and succinctly.
Dock your widget
You can choose to "Dock" your widget, ensuring that the only widget on your dashboard is the List View Widget and it takes up the entirety of the dashboard. To do this, make sure there are no other widgets on your dashboard, click on the three dots in the top right corner of the widget, and select "Dock this widget" from the dropdown menu.
Tip: You can easily undock the widget by clicking on the "Undock" icon at the top of your dashboard, next to the "Cogwheel" settings icon.
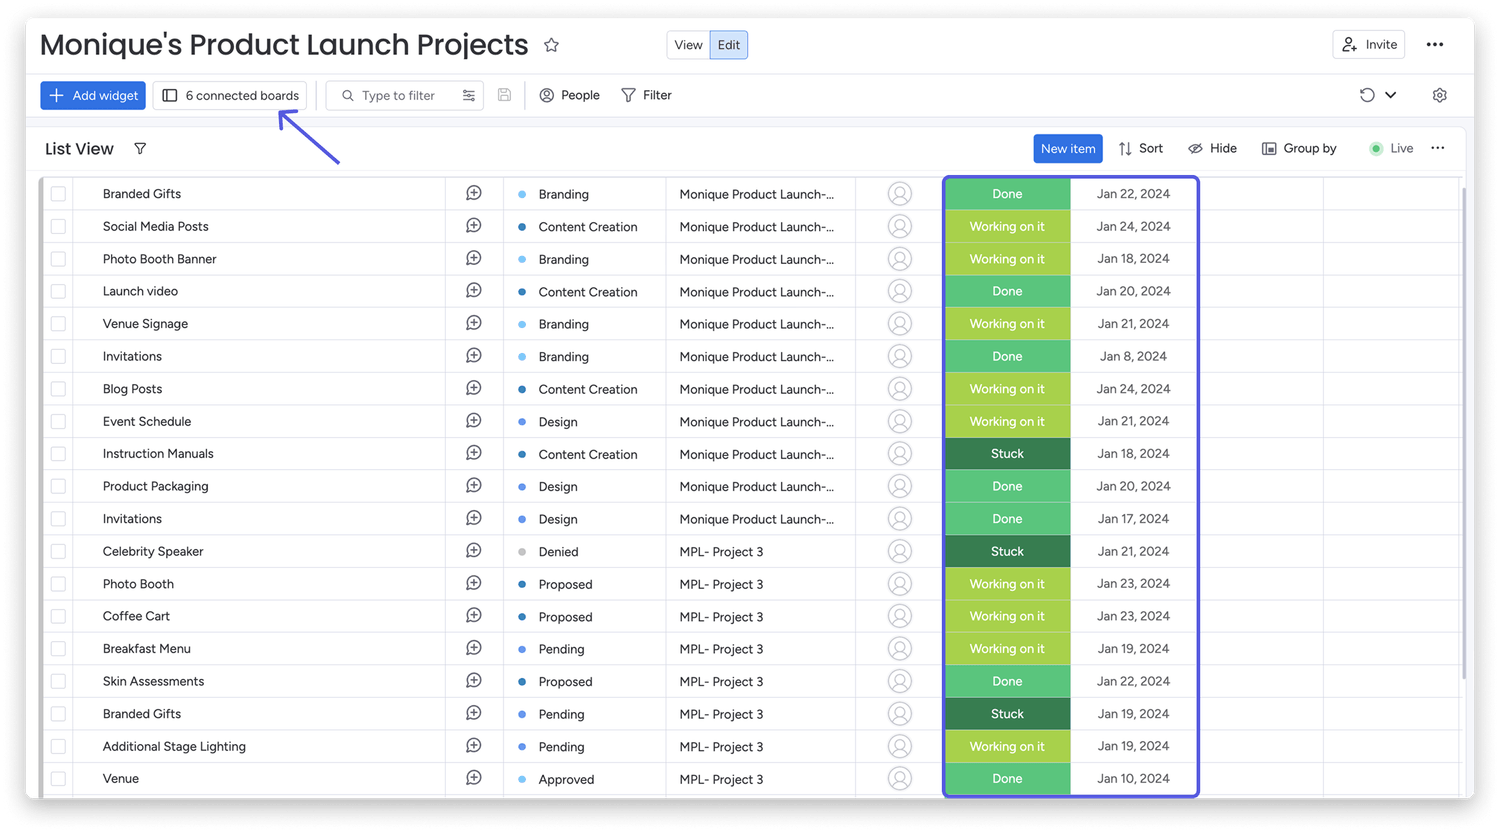
Sort your widget
You can sort the way the data is presented in the List View by the available columns. Click on the "Sort" button in the top right-hand corner of the widget and select the column you wish to sort by, and then select whether the items should appear in "Ascending" or "Descending" order.
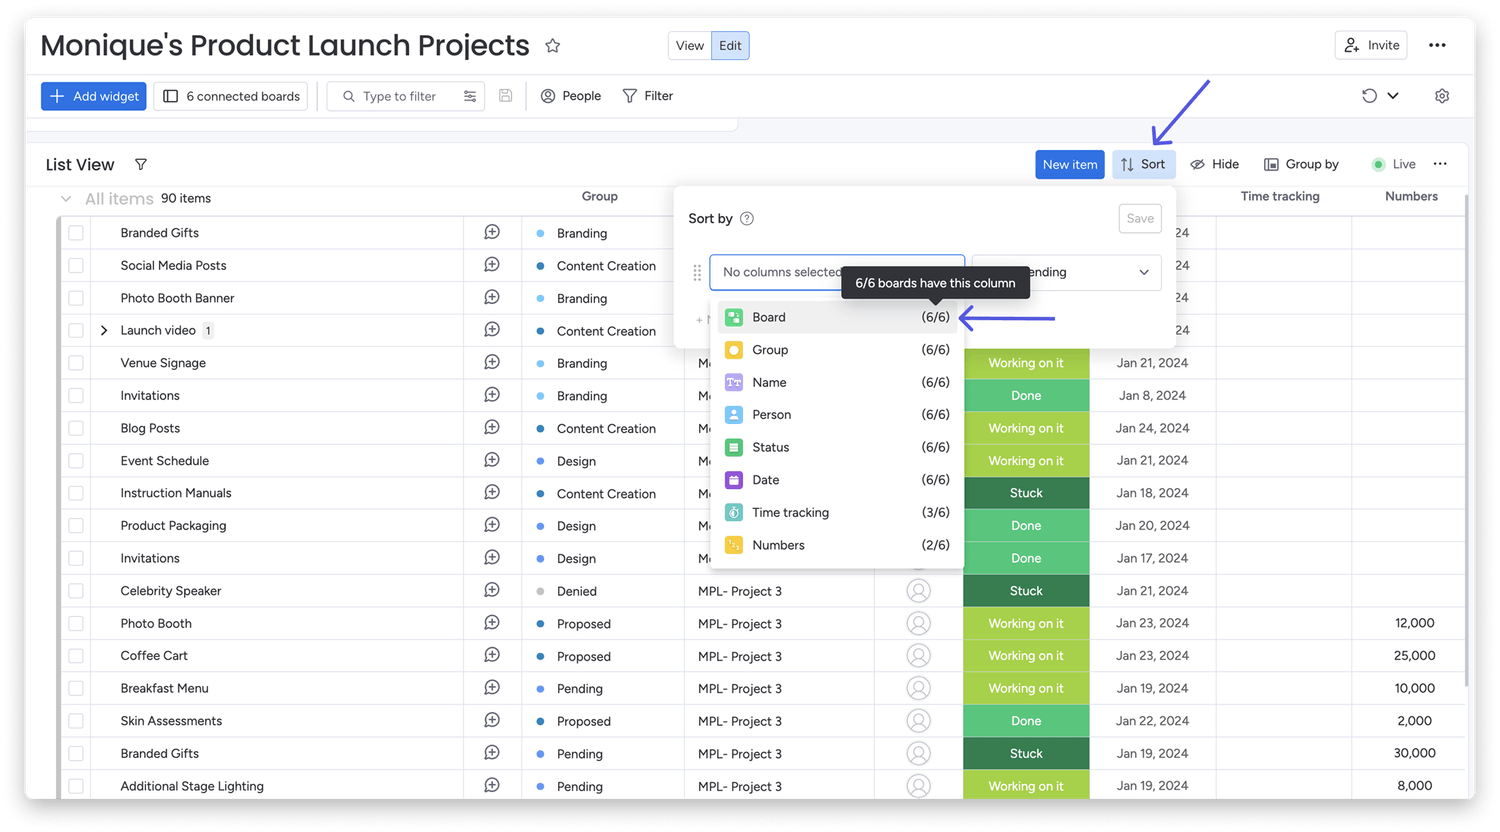
Note: The number displayed next to each column in the Sort column settings indicates how many of your connected boards contain that specific column.
Group your items
You can use the Group By feature to group the items within your List View Widget by specific columns. This allows you to view the items more clearly according to metrics like Board, Group, Status, Person, and more! Click on the "Group by" button in the top right-hand corner of the widget and select the column, board, or group you wish to sort by.
Filter your widget
Another way to organize your widget is to filter the items to display the exact data you are looking for. Click on the "Filter" icon in the top left-hand corner of the widget and select the column, board, or group you wish to filter by.
Editing items
The List View Widget is dynamic in that it pulls items from the connected boards into the widget. The item displayed in the widget is exactly the same as the item on your board. Any changes made to items in either place will reflect on both the board and the widget.
Changing column values
You can update a column value from within the List View, whether it be an update to the Status label or a change to the date. This change will then reflect directly on the item's connected board. Simply click within the cell that you want to edit and change the value according to the column type.
Note: Updates within an item can also be edited and added from within the List View Widget.
Add a new item
You can also add a new item directly from inside the List View! New items will immediately appear within your board and vice versa. To add a new item from within the widget, click on the "New item" button at the top of the List View. An item pop-up card will appear, allowing you to input the details on the new item, including which board and group within that board to add the new item to.
Item settings within the widget
You can also access item settings from within the List View, the same way you would on your board. To open the item settings, hover over the left side of the item and click on the three dots that appear. The item settings menu will appear. From here, you can move the item, add a subitem, delete the item, and more!
Note: Changes made to an item from within the item settings in the List View Widget will change the item on its corresponding board. Therefore, if you delete an item from within the List View, it will be deleted from its board.
💡 Stay tuned for more updates in the future!
👉👉Start your free trial with us today: www.achievan.com/mondaydotcom
SHARE


Subscribe now.
Sign up for our newsletter to get the most interesting stories of the day straight to your inbox before everyone else
We help teams improve Productivity by implementing no-code software solutions
A Division of
Execute Strategy, Inc.
Connect with Us


Copyright © Execute Strategy Inc. O/A Achievan 2026